
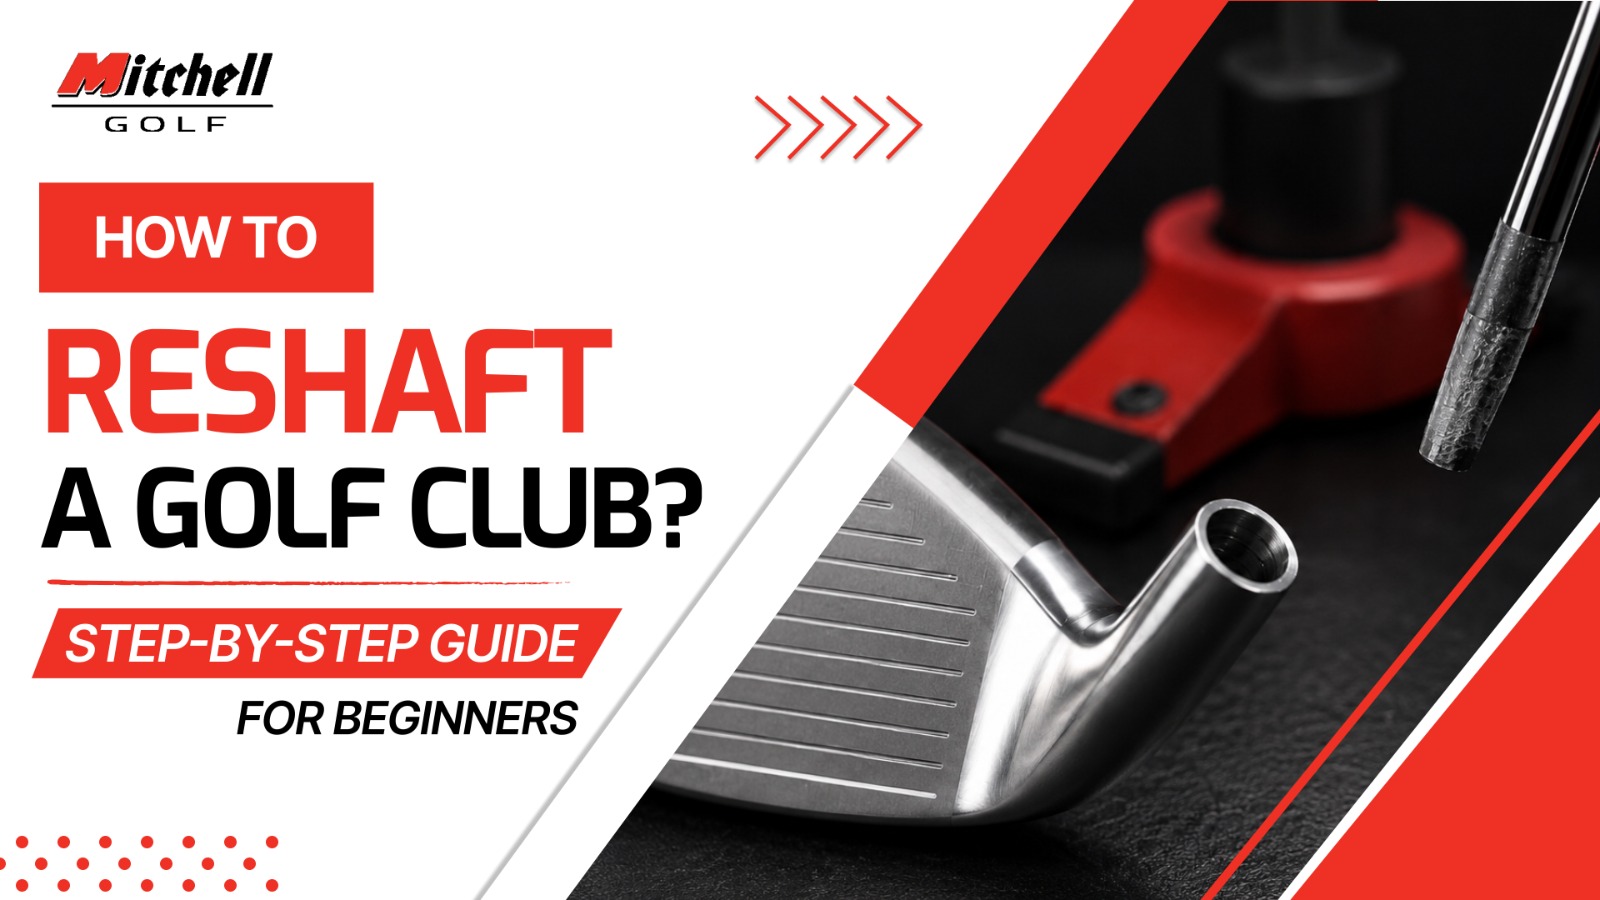
A broken or worn-out shaft does not mean the end of a club you love. Reshafting is one of the most practical skills in golf club repair. Once you have done it correctly, you will wonder why you ever paid a shop $35-$85 per club to do it for you.
This guide walks through every step from removing the old shaft to verifying swing weight after cure. Every price and cure-time figure has been checked directly against the live Mitchell Golf catalog and corrected where needed.
When Should You Reshaft a Golf Club?
- Obvious damage – a cracked, kinked, or broken shaft. Any crack in graphite is a reshaft situation, not a tape-it-and-see situation.
- Rust or corrosion – steel shafts can rust from the inside out. Surface rust wipes away; structural rust compromises the shaft wall.
- Performance mismatch – a shaft that is wrong for a golfer (too stiff, too flexible, wrong kick point) limits performance regardless of how well the head is fit.
- Adapter upgrades – modern drivers and fairway woods use interchangeable adapters. Full hosel-bonded reshafts apply to iron, wedge, and wood shafts bonded with epoxy.
Choosing a Replacement Shaft
Three specs matter more than brand name: tip diameter (must match the hosel bore, typically .355″ taper or .370″ parallel for irons), flex (L/A/R/S/X), and kick point (where the shaft bends most during the downswing). Get any of the three wrong and the reshaft will be technically sound but the club will still play worse than the one it replaced.
Tools & Materials You Will Need
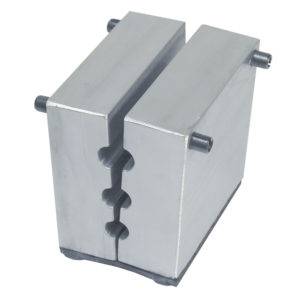
Bench vise with aluminum vise clamp:
- Heat gun (not a torch controlled, even heat only)
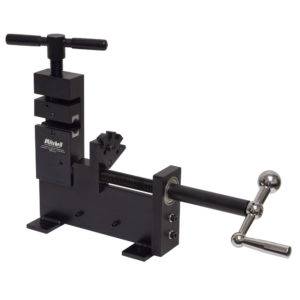
Graphite shaft puller (for graphite only):
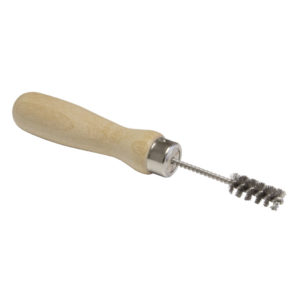
Hosel cleaning brushes:
- Replacement shaft correct tip diameter, flex, and length
- Matching ferrule correct inner diameter for shaft tip
Two-part golf shaft epoxy:
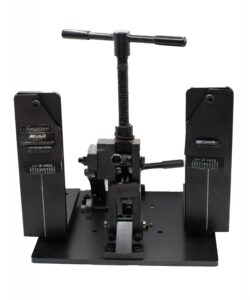
- Acetone or denatured alcohol for surface prep
- Masking tape and marker for depth marking
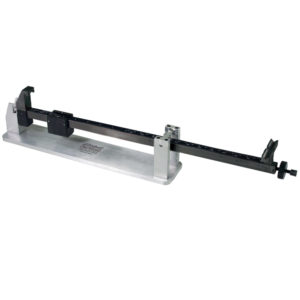
Swing weight scale for post-cure verification:
PRICING NOTE
The epoxy prices above are per single 7oz cartridge, not the 4-cartridge-plus-gun kit. See the Choosing the Right Epoxy section for the full breakdown.
Steel vs. Graphite – Key Differences
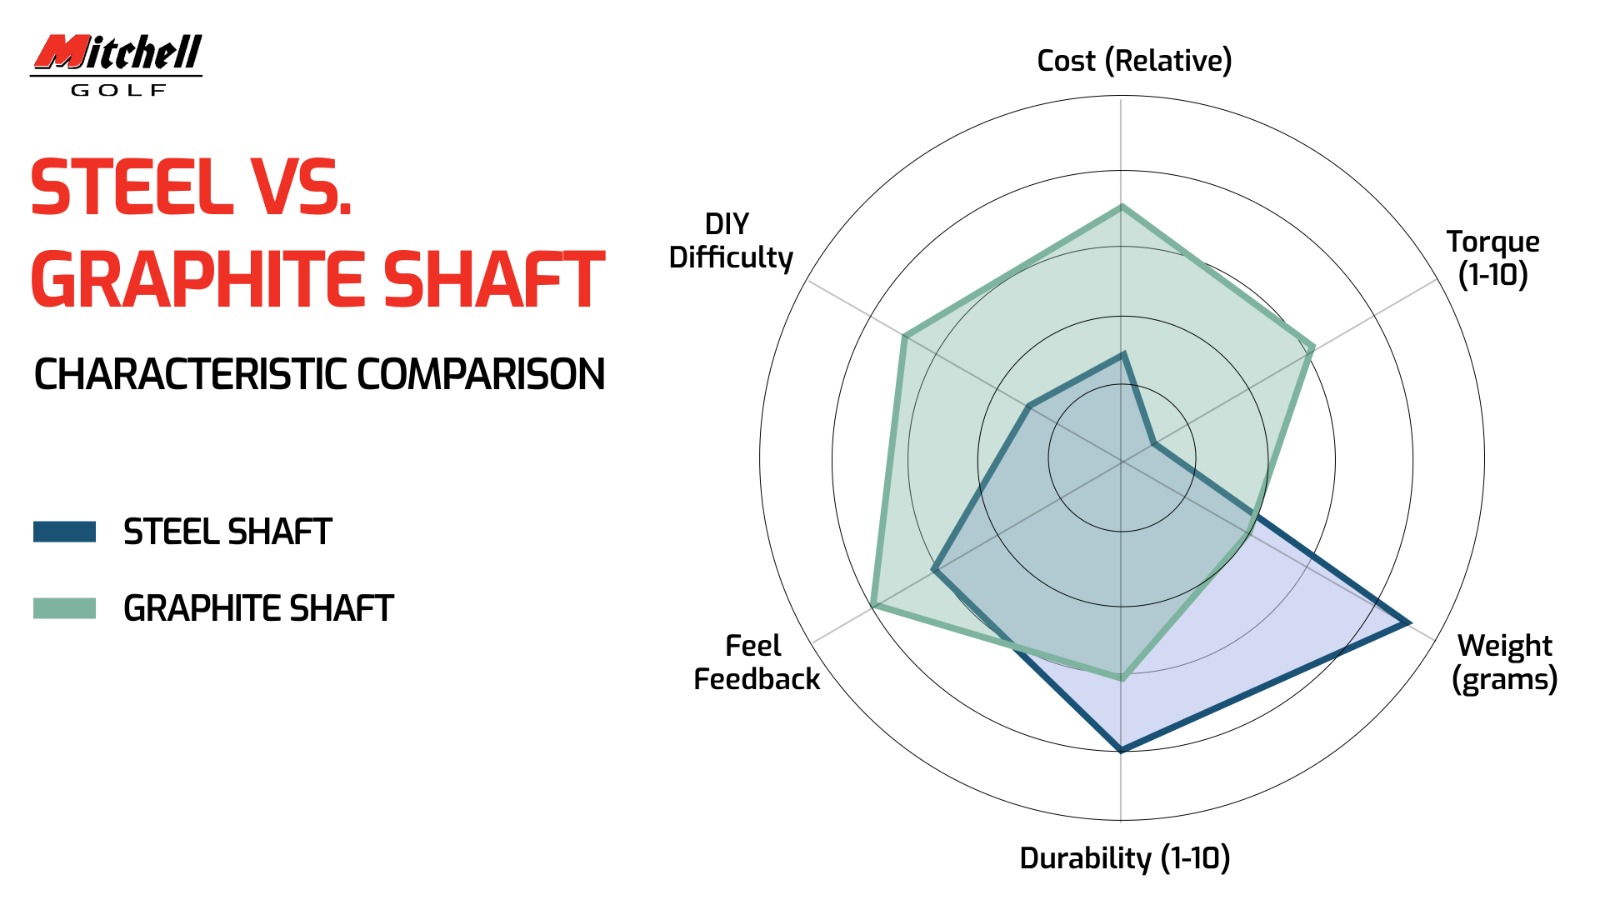
Figure 1: Steel vs. graphite shaft comparison – weight, torque, cost, DIY difficulty, feel, and durability.
| Factor | Steel Shaft | Graphite Shaft |
|---|---|---|
| Weight (typical iron) | 100-130g | 50-85g |
| Tip trimming | 1/4″ increments, standard | Brand-specific trim charts required |
| Torque (twist) | Near zero | 1.5°-7°+ depending on flex |
| DIY difficulty | Lower – more forgiving | Higher – fiber damage is irreversible |
| Cost (typical iron shaft) | $15-$40 | $30-$100+ |
CRITICAL FOR GRAPHITE
Never use a pipe cutter, hacksaw without a guide, or prying method to remove a graphite shaft. The fibers run longitudinally any lateral force or twist will delaminate the internal layers. The Steelclub Graphite Shaft Puller is the only safe removal method.
The 7-Step Reshafting Process
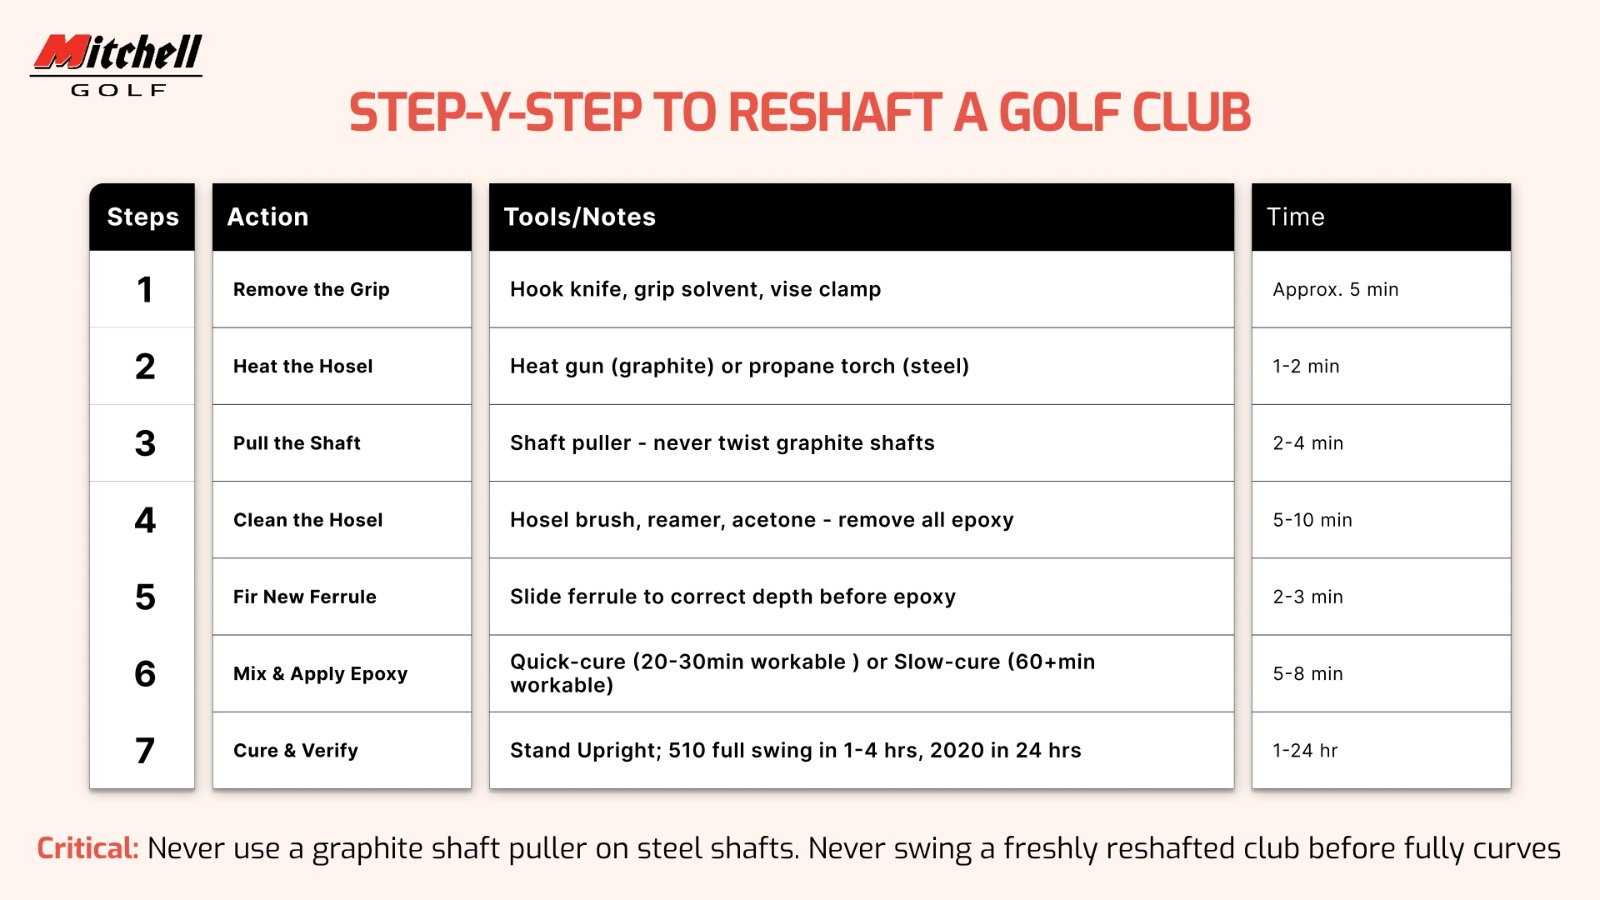
Figure 2: The 7-step reshafting process. Steps 1-3: removal. Steps 4-5: surface prep. Steps 6-7: bond and cure.
Step 1: Remove the Grip (~5 min)
Use a grip removal tool or box cutter to slit the grip from butt to ferrule and peel it away. Strip all grip tape off the butt end.
Step 2: Heat the Hosel (1-2 min)
Apply a heat gun at 6-8 inches distance, moving constantly around the hosel, for 30-60 seconds. Your goal is to soften the epoxy bond not torch the head.
WARNING
Never use a propane or butane flame directly on a graphite shaft. An open flame generates 1,500°F+ surface temperature enough to deform cast clubheads, destroy chrome plating, and vaporize epoxy without control.
Step 3: Pull the Shaft (2-4 min)
Removing graphite shafts requires controlled, straight-line force not prying, not twisting. The Steelclub puller applies consistent mechanical force while you heat the hosel.
Step 4: Clean the Hosel (5-10 min)
Every bit of old epoxy must be removed. Steel hosels: wire or bronze brush. Graphite-insert hosels: nylon brush only wire bristles leave metal contamination.
Step 5: Fit the Ferrule (2-3 min)
Match ferrule inner diameter to shaft tip: irons are typically .355″ (taper) or .370″ (parallel). Dry-fit the shaft to confirm the ferrule seats flush at the hosel mouth.
Step 6: Mix & Apply Epoxy (5-8 min)
Dispense a small amount onto a mixing surface and mix for 60 seconds. Apply a thin, even coat to both the shaft tip and inside the hosel bore. Insert the shaft with a slight 180-degree rotation to distribute epoxy evenly.
HOW MUCH EPOXY IS RIGHT?
A thin, uniform layer on both surfaces enough to fill micro-gaps, not enough to create a thick pad. Some visible squeeze-out at the ferrule confirms coverage.
Step 7: Cure & Verify (1-24 hours)
Place the club vertically (head down) in a stand or lay flat on a clean surface. Do not touch, move, or vibrate it during the cure window.
- 510 Quick-Cure: full swing ready in 1-4 hours.
- 2020 Slow-Cure: full swing ready in 24 hours.
- Cure time assumes ambient temperature above 65°F. Cold environments slow cure significantly.
- After cure, verify swing weight with a TourGauge Swing Weight Scale before installing the new grip.
Choosing the Right Epoxy
510 Quick-Cure prioritizes speed to full strength so a repair shop can turn clubs around same-day; 2020 Slow-Cure trades speed for a longer working window and marginally higher ultimate bond strength.
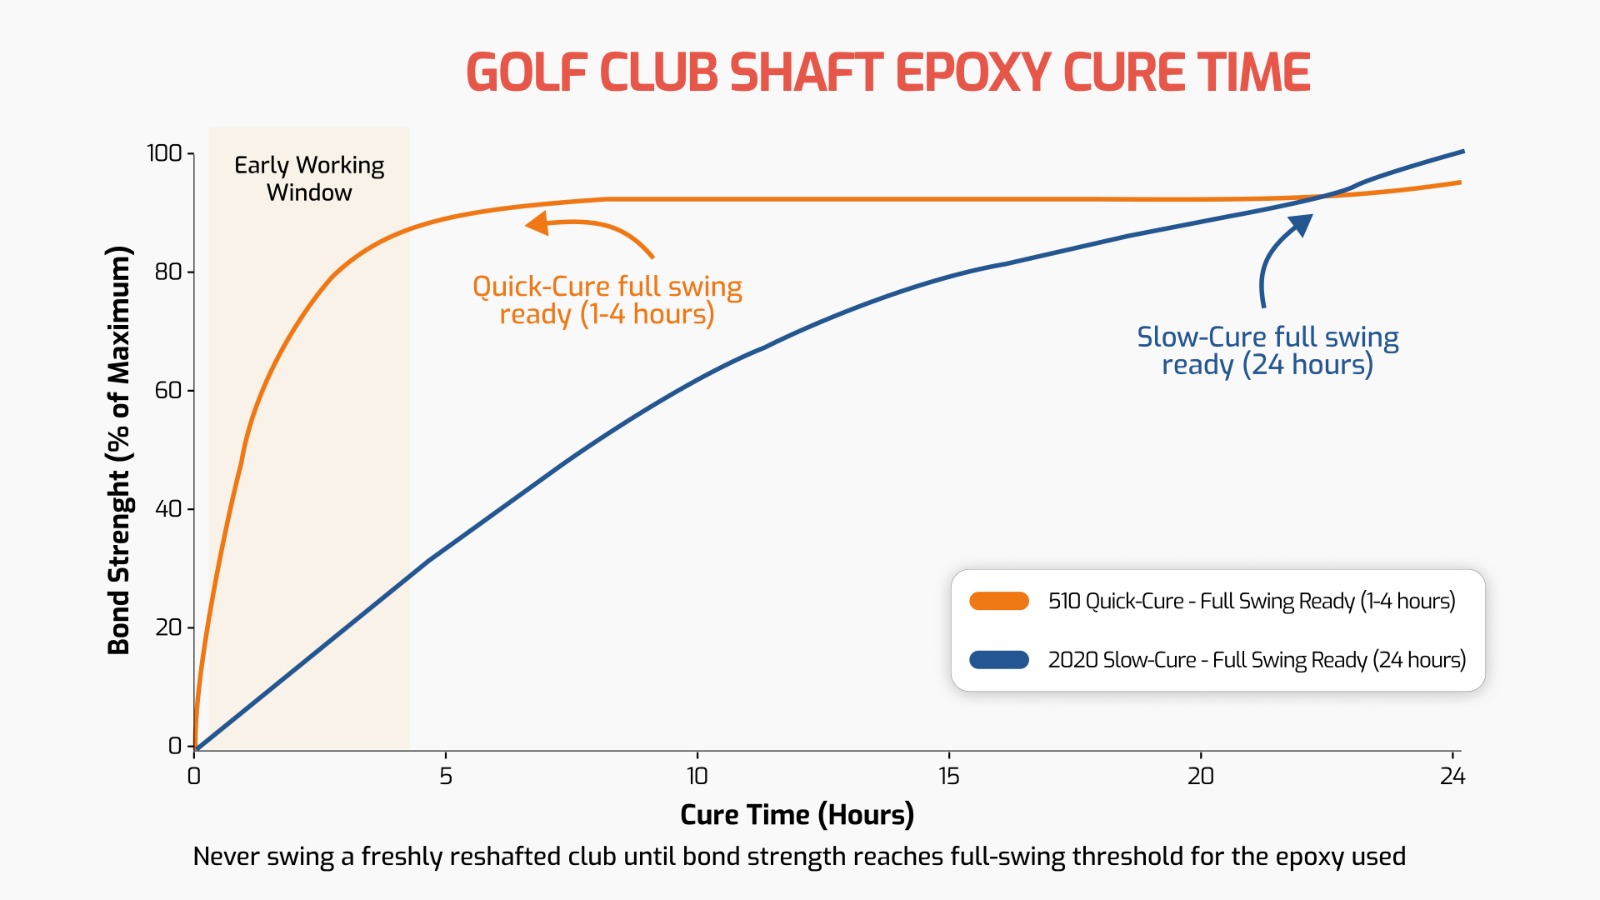
Figure 3: Bond strength over time corrected and verified. Quick-Cure reaches full-swing readiness in 1-4 hours; Slow-Cure reaches full-swing readiness at 24 hours.
| Epoxy | Cartridge Price | Workable In | Full Swing Ready | Ultimate Strength |
|---|---|---|---|---|
| 510 Quick-Cure | $24.99 | 20-30 min | 1-4 hours | ~90% of max |
| 2020 Slow-Cure | $19.99 | 60+ min | 24 hours | 100% (maximum) |
PRICING CORRECTION
The prices above are for a single 7oz cartridge of each formula. Mitchell Golf also sells a bundled kit (gun + 4 cartridges) for $188.99 (510) or $166.99 (2020) not the right number for per-cartridge or per-job material cost estimates.
What a Full Reshaft Actually Costs in Materials
| Material | Cost per Unit | Clubs per Unit | Cost per Club |
|---|---|---|---|
| 510 Quick-Cure epoxy (7oz) | $24.99 | ~10-14 clubs | ~$1.80-$2.50 |
| 2020 Slow-Cure epoxy (7oz) | $19.99 | ~10-14 clubs | ~$1.45-$2.00 |
| Ferrule | $0.50-$2 | 1 | $0.50-$2 |
| Replacement shaft (steel) | $15-$40 | 1 | $15-$40 |
| Replacement shaft (graphite) | $30-$100+ | 1 | $30-$100+ |
5 Mistakes That Ruin Reshaft Jobs
Most reshaft failures aren’t epoxy failures they’re preparation failures that show up weeks later as a loose, clicking, or off-line shaft.
- Not cleaning the hosel fully. Even a small patch of old epoxy creates a void in the new bond.
- Using the wrong brush material. Nylon for graphite hosels, wire or bronze for steel.
- Pulling graphite shafts without a puller. Twisting or prying causes invisible, progressive delamination.
- Swinging before full cure. Quick-Cure at 2 hours has roughly 60% of its final strength.
- Ignoring swing weight after the reshaft. A 10-20g difference in shaft weight shifts swing weight by ~1-2 points.